
Blog Binusian is a WordPress based blog site that provided for all Binusians as one of the facilities of the BINUS University. WordPress Blog Engine is a common blog engine all over the internet, but not everyone familiar to WordPress GUI and Registration. This document provided to you to you’re your interaction to blog.binusian.org. Because the WordPress Blog Engine is updated regularly this tutorial is based on currently latest version of WordPress, which is 3.8. WordPress Update will change GUI of the WordPress’ Dashboard and also add more feature, please refer to this document for feature only, not all location of the menu will be the same in another WordPress Update
Registering a Blog Binusian Account
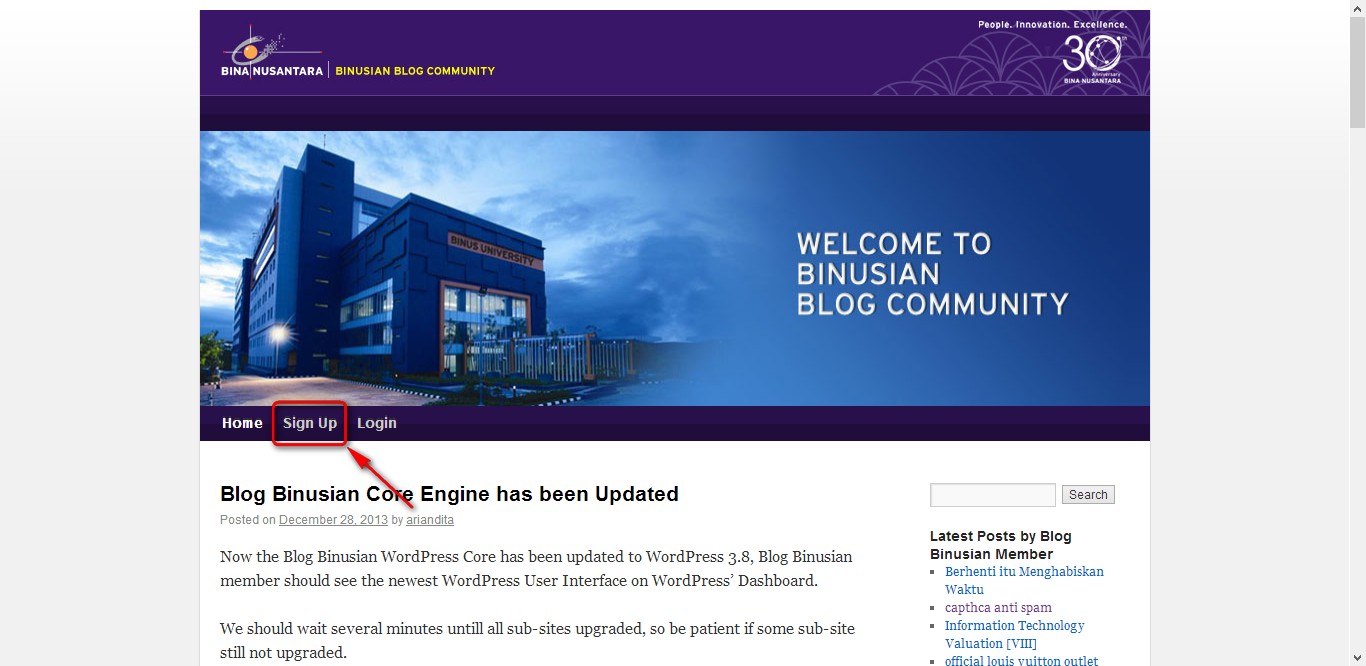
Please choose the Sign Up link at the Home Page of the blog.binusian.org
Please choose a Username and fill it in Username section, and use your @binus.ac.id,
@binus.edu or @binusian.org email address to register. Do not forget to enter the captcha
code. Please choose Gimme a Site ! and click Next.
Then choose a Site Sub Domain Name for your blog and your Blog Title and also select Yes
for Allow search engines to index this site , then select Signup
After those steps above a confirmation page will be shown and tell you that you should wait
for a confirmation email that contains blog activation code. You must activate your new blog
not later that two days after the registration.
You should receive an email like this
Follow the activation link and you will be bring to a page that tell you that your blog is
activated and also tell you your default password
After activating your blog you will receive another email that tell you your blog is activated
This is how your blog is shown if no customization made
Managing your Blog Binusian Site
Login to your WordPress blog Dashboard using http://blogname/wp-admin, enter your username and your default password, if you forgot your password you can use the Lost Your Password link
This is the Dashboard of your new blog, if a WordPress Update is applied there might be a
few difference. The Picture below shown the Version 3.8 of WordPress’ Dashboard
You can personalise your blog through this Dashboard, try change your WordPress Theme,
select Appearance >>> Themes
There are a number of themes that you can use for your blog
Here we try to activating the Fjords04 Theme, click on the theme thumbnail view and click
Activate
Above the thumbnails shown the confirmation that New Theme activated select Visit Site to
see the current appearance of your blog
Here is how our blog is shown after activating new theme
Above the page if you are currently logged in to our blog, shown the WordPress Ribbon
Menu, we can add new post or upload new media / picture
Now we make a new post from the WordPress Dashboard, select Posts, and click Add New
The Add New Post page will shown, in area A is the title of our post, in area B is our post
Now we want to add a picture to the post, please select Add Media.
The Insert Media pop up will shown, just click Select files, or we can drag and drop the files
to this area.
After that dialog need a few minutes or seconds the file/s of ours will be upload to the
server, please be patient untill the Insert into post button on the bottom right is clickable.
Click the Insert into post button on the bottom right after it is clickable.
The picture we insert is shown on our post, we can save our post to draft by clicking Save
Draft button or preview it by clicking Preview button also we can decide to Publish our post
directly by clicking the Publish button.
We can edit our post if its necessary, the Update button will replace the Publish button,
after updating there will be confirmation above the post that say Post Published, click View
Post if we want to see the result.
Here is shown how our Sample Post with Picture on the blog.
Here is how our Sample Post with Picture shown with another WordPress’ Theme activated
on the blog.
You can download the PDF version of this document here